
There are several things to keep in mind when making bread in a Dutch oven, and this article will focus on three of the most important. First, you must be aware of the Steam trap, which prevents the exterior from getting dark. Then, you should cover the Dutch oven with plastic wrap to prevent the bread from rising too much.
Once the dough has risen enough, you can begin to slash the surface of the dough. Slashing the dough will allow it to expand but also control the rise, so that the bread does not become misshapen while baking.
My Easy Dutch Oven Bread recipe
This recipe makes bread in a Dutch oven using active dry yeast. You can use all-purpose flour or bread flour, which gives the bread a higher rise. Add the water and stir. Make sure it is between 105 and 110 degrees Fahrenheit. The recipe requires 10 minutes of hands-on time and a three-hour rise. It does not require any kneading. Alternatively, you can use a stand mixer.
If you don’t own a Dutch oven, you can still make the bread without it. But you won’t get the same crusty texture. The same recipe will work just as well with a preheated cast-iron skillet. If you don’t own a Dutch oven, you can use a baking sheet. After the dough has proofed, you can bake it.
Another way to prevent hard crust on the bottom of the loaf is to place a baking sheet on the bottom rack of the Dutch oven. This deflects the intense heat from the bottom and makes the loaf softer. Also, some readers have complained about dry dough, which is likely caused by the brand of flour or a discrepancy in measuring. You can use more water in case your dough is too dry. A few other tips for making the dough:
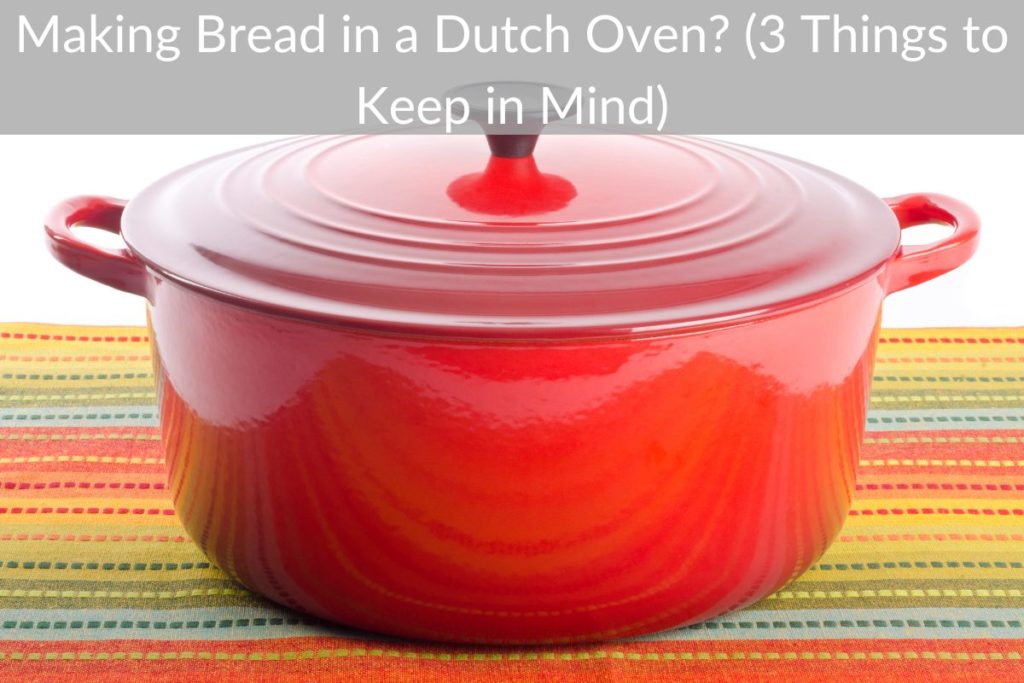
Dutch ovens
If you want to make homemade bread, you can use a Dutch oven. It is a traditional way to bake bread that takes at least half an hour to bake. Dutch ovens have a special heating element at the bottom that helps to evenly distribute heat across the entire bread. Using a new razor blade, you can cut the bread at a deeper depth of 2 inches. This gives the bread more flexibility to rise and creates more craters for a golden crust. The dough can be refrigerated for up to a week before baking, but must be brought to room temperature and warmed before use.
Steam generated inside the Dutch oven helps to make a more flavorful loaf of bread. The steam in the pot also allows the crust to expand during the first stages of baking, resulting in a larger loaf. The steam helps the yeast to release its sugars, which result in a crackly, glossy crust and irresistible taste. The steam inside the Dutch oven also helps produce a golden crust and create designs in the dough during baking.
Steam trap
One way to prevent the bottom of a bread loaf from becoming hard is to place a baking sheet on the bottom rack of a Dutch oven. The baking sheet deflects intense heat away from the bottom of the Dutch Oven, making the bottom of the bread softer. In addition, some readers have complained that the dough is too dry, but this is usually caused by a brand of flour or measuring discrepancy. Adding more water can make the dough more sticky.
When making bread in a Dutch oven, you can use a steam trap. This can be useful and convenient if you bake a few loaves at a time. Before baking the first loaf, you need to spray the bread with warm water. The water will create steam. You can then place the loaf in the oven. The steam from the baking process will then be trapped inside the bread loaf. The result is a larger loaf with a light, airy crumb.
If you’re concerned about the amount of steam coming out of the bread while baking, you can add a few ice cubes. This trick will produce steam and provide the final rise the bread needs. Using a lava rock as a steam trap will not break ceramic or glass baking dishes. As a substitute, you can also use a baking sheet. If you don’t want to use a baking sheet, you can simply use a Dutch oven.
Steam prevents exterior from darkening
While steam is necessary for a dark exterior on bread, it should not be excessive. The reason for this is that steam comes from the bread itself, which has a high boiling point. As the oven temperature increases, more steam is created, which can contribute to the crust’s dark coloration. A closed Dutch oven prevents excessive steam from escaping and traps the water from the dough inside. The steam then clings to the exterior of the loaf, keeping it moist.
In addition to steam, you can use a spray bottle to create steam inside the oven. Place a metal pan inside the Dutch oven, and then place the top half of the pot inside. After a few minutes, open the lid and allow the bread to finish baking outside the pot. This method is recommended for baking bread whose outer crust is easily darkened. But it is not necessary to make bread in a Dutch oven if you have a large Dutch oven. You can bake up to three loaves at a time, or as many as you can fit side by side in your oven.
Another important feature of a Dutch oven is its ability to provide a rich color to the bread. The bread can be an eye-catching shade of orange, a delicious flavor, or even a mouthwatering combination of all three. During the baking process, Dutch ovens also unlock sugars in the bread, which enhance the bread’s appearance. As a result, the bread’s color can be enhanced as the interior cooks in steam.
Care of a dutch oven
To maintain the non-stick surface of your Dutch oven, follow the following care tips. Avoid over-heating or rapid temperature changes. Rapid temperature changes can leave cosmetic marks on the Dutch oven’s enamel. Avoid using a metal spoon or spatula because they can scratch the enamel. Also, you should avoid using a hot pan if you are not cooking bread in your Dutch oven. You can use Barkeepers Friend or another enamel-protecting product to restore the surface.
Ensure that you pre-season your Dutch oven before you start baking. Some Dutch ovens are made from enamel-coated cast iron, which gives it a shiny finish and a non-stick surface. You can also use a non-stick coating by covering the interior of your Dutch oven with parchment paper, cornmeal, or oil. However, if you only use your Dutch oven for bread baking, you will not experience enamel problems.
After you bake your bread, make sure to rinse the dutch oven thoroughly. A little dish soap can also help get rid of any stains that have accumulated on the interior of the Dutch oven. Alternatively, you can use a baking soda paste to cover the stain. If it’s stubborn, leave the baking soda mixture on the Dutch oven overnight and then wipe it off the next morning. After that, use a hot water and dish soap to give it a final rinse.
Cost of a dutch oven
A high quality, well crafted Dutch oven will give you the results you want when baking bread. The lid of a quality Dutch oven will seal tightly to the base, while a cheaper brand will have gaps that will let steam escape. Buying a good brand of Dutch oven is definitely worth the money, but you should also consider how you’ll use the bread. A sourdough bread maker will benefit from a high quality Dutch oven as it’ll give the dough the flavor and aroma it needs.
Getting the right size is important. The size of your Dutch oven is important, as a small loaf in a large one will prevent it from expanding. You don’t want your loaf to be too large or too small, because then the steam will not be able to stay close enough to it. Buying a large Dutch oven will give you better results, but a small one will give you disastrous results.
A cheap Dutch oven will have enamel that wears off quickly. Then, you’ll find rust between the cracks. A higher quality Dutch oven will last much longer, as its non-stick coating is not compromised by frequent use. And you’ll get more bang for your buck when you use it to make bread. Just make sure you’re baking bread on baking parchment to avoid excess wear and tear on the enamel.
Time to make bread in a dutch oven
Before baking your bread in a Dutch oven, you should pre-heat the pot. You can do this by drizzling some oil in it or placing it in a cold oven for a few hours. Be sure to not overheat the Dutch oven before you start baking to prevent cracking. In addition, you should never place the Dutch oven directly into a hot oven, as the hot oil can easily melt the enamel. If your Dutch oven does not have this feature, you should choose a ceramic Dutch oven.
Once the bread is ready, you can test it by tapping on the bottom of the pot. It should sound hollow when done. It should have reached an internal temperature of 190-200 degrees Fahrenheit. If you are using bread flour instead of all-purpose flour, you should add 2 teaspoons more water for each cup of flour. If you want your bread to have a thick crust, use bread flour instead of all-purpose flour.
First, mix 3 cups of flour with yeast and salt. Add the rest of the flour and water. Knead the dough for 1 minute. Place the dough in a parchment-lined 4-5 quart Dutch oven pot. Preheat it to 450 degrees. After baking, remove the dough from the bowl and let it rest in a warm place for at least an hour. Meanwhile, prepare your Dutch oven by preheating it to 450 degrees.