You’ve probably seen the delicious French snack on television, but do you know how to cook garlic bread in the oven? You’ve probably heard it prepared in the microwave, toaster, or even in the Air fryer. So, how do you get the perfect garlic bread in your microwave?
Read on to find out how to prepare this delicious dish. We’ll discuss the various methods in this article. You’ll be glad you did.

How to make garlic bread
You can make your own garlic bread in your own kitchen by using a food processor. Generally, garlic bread bought from a store is soft and chewy while the ones you get in a restaurant are crunchy and crispy. To make garlic bread at home, you need to use soft bread and a high-quality flour. Bread with a higher protein content will absorb water and cook more evenly, resulting in a fluffy and tender bread.
To make garlic bread in your food processor, you should first make a garlic butter using softened butter or cream cheese, garlic, and herbs. Next, spread this mixture evenly on one side of the bread. You can also sprinkle some extra parmesan cheese on top, if you prefer. After the garlic bread has cooked, you can slice it into squares or 3-bite pieces and serve it to guests. Once you’re done, you can reheat it in the microwave or oven, whichever you prefer.
You can also make this bread in advance and freeze it for up to three months. This method is also convenient for when you’d like to serve it to a crowd. It’s great for a housewarming or a new baby shower. Simply place the buttered side of the bread on the baking sheet. Once it’s frozen, wrap it loosely in foil to maintain the crispness. You can serve it at anytime later.
The best way to serve garlic bread is fresh from the oven. But if you want to make more, you can store it in an airtight container and reheat it later. You can also make vegan versions by replacing butter or cream cheese with olive oil. You can also try vegan and gluten-free bread. If you’d like to save leftover garlic bread, you can freeze it for up to 6 months. It is also a great snack.
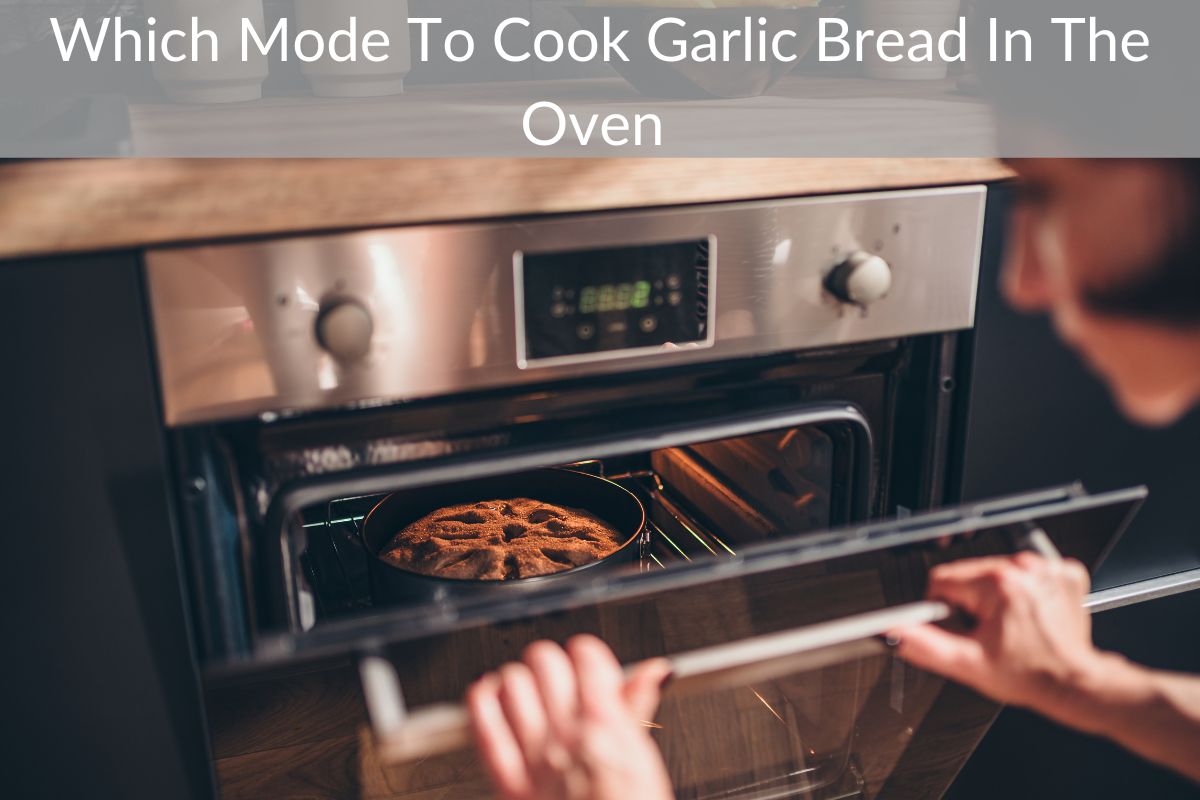
To prepare garlic bread in oven mode, you should preheat the oven to 400 degrees Fahrenheit. First, you need to slice the bread lengthwise. Next, place the butter into a small bowl. Don’t worry if the butter doesn’t melt completely, but it should be soft enough to spread evenly on the bread. You should also add the garlic and Parmesan cheese. Then, spread the butter over the bread and bake it until it’s golden.
Toaster or broiler
Whether you prefer toasting or broiling your garlic bread in the oven, both methods produce delicious results. Both methods are quick and easy. Simply spread butter on one side of the bread and place it on the baking sheet. Bake at 450 degrees for 10 to 12 minutes. If you don’t have a toaster, wrap the bread in foil and freeze for up to three months. Toasted garlic bread can be given as a gift to new parents or housewarming guests. You can also freeze them in airtight containers. To reheat them, simply place them back into the oven.
The time needed to toast bread will vary depending on the appliance. A broiler can burn toast fast, so watch carefully. Toast in the oven is best if you’re not home to keep an eye on the toast. Also, make sure to preheat the oven before placing the bread in it. Using a broiler can cause your toast to burn very quickly, so it’s important to make sure it’s preheated before placing it in the oven.
Before you choose between broiling and baking, you should know what kind of bread you’re using. Garlic bread baked in the oven is generally softer and chewier than garlic bread baked in a toaster. Make sure to choose the right kind of bread if you’re trying to replicate a restaurant-quality version at home. Also, try not to over-brown your bread, or you’ll end up with burnt garlic bread!
Using a toaster or broiler for garlic bread in oven will give you a crispy, golden-browned crust that will not tear or get soggy. The bread can be served as a side dish, or you can toast it and then grill it to add a little more flavor. It’s delicious served hot, warm or at room temperature. And if you’re looking for a delicious way to serve garlic bread, this recipe will be perfect for you.
If you’re serving garlic bread at a dinner party, you can toast it in the oven or place it in a broiler to give it a nice, golden color. Whether you prefer a soft or a crisp crust, the choice will depend on the texture of the bread and your preferences. Either way, you’ll enjoy the delicious result! Just remember to watch your bread carefully and don’t let it burn!
Air fryer
To make garlic bread in the air fryer, the bread is sliced into desired thicknesses, usually 3/4 inches. French sticks, baguette, and ciabatta bread will all work well. Mix together softened butter, garlic, parmesan cheese, and dried parsley. Spread the mixture evenly over the bread slices. Place them in an air fryer basket in a single layer. Air fry at 350F for about 5 minutes, or until golden brown.
To make garlic bread in the air fryer, combine fresh or dried garlic, parsley, and butter. Spread the mixture over the bread slices and place them on the air fryer trays. Cook for about five minutes, or until golden brown and topped with cheese. Alternatively, bake in the oven until the bread is soft and golden. Then, serve with a side of tomato sauce and salad. Once cooled, store in an air fryer for up to 3 days.
Using the air fryer to make garlic bread is easy, too. The bread slices are incredibly crispy and delicious. The air fryer can make everything from toast to grilled cheese sandwiches. Aside from grilled cheese sandwiches, it also makes garlic bread fast and easy. The best part about air frying is the simplicity and convenience. Even beginners can make this delicious bread within minutes. Just remember to follow the directions carefully, and the results will be worth the effort.
To cook garlic bread in the air fryer, you can buy them frozen from the store. The time required for each type of garlic bread varies. For example, a baguette will take about ten minutes to cook at 360 degrees F while a slice of toast will need just two or three minutes. In both cases, the bread is crispier than the baked version. If you’d prefer not to buy garlic bread at the store, you can freeze it and cook it in the air fryer for up to 6 months.
When using the air fryer, you can use any type of crusty bread to make this delicious snack. A baguette, Italian bread, or sourdough bread will work well, and the air fryer can even crisp up a frozen loaf of garlic bread! For the most delicious results, keep the garlic bread slices in one layer in the air fryer and then transfer them to the oven to finish cooking.
Microwave
If you want to cook garlic bread without the hassle of using a conventional oven, you can microwave it in oven mode. You will just need a microwave safe tray and the ingredients listed below. First, you’ll need butter and margarine. Then, add the garlic bread to the microwave and bake it for about eight minutes. Once cooked, you can then remove it from the microwave and toast it. It’s that simple!
For an oven-style garlic bread, simply turn your microwave to the oven mode and add a small piece of butter. You can also add some pizza seasoning or melted butter before baking it. Make sure you’re present while the bread is baking to avoid drying it out. It will get a little harder if it cools too much. Make sure you have plenty of space between the pieces of garlic bread to allow hot air to circulate around it.
If you don’t own a microwave with an oven mode, you can make garlic bread in a microwave by following the same steps. While the result won’t be as crispy as baking it in the oven, it’s a quick and easy way to prepare it. Most garlic bread is not good when it’s sitting out for a long time. Besides, you won’t want your garlic bread to become chewy or hard.
Once you’ve prepped all of the ingredients for the bread, you can microwave the whole loaf in the microwave. If you’re using French bread, place a wax paper under the slices to avoid drying out. Microwave garlic bread in oven mode works best when the combination of a microwave and an oven preheats to about 300 to 400 degrees and bakes it for about 10 minutes. Don’t use aluminum foil for baking. A basic garlic bread should have garlic salt or powder, butter, and garlic.
If you’ve already made a batch of garlic bread, you can also freeze it. You can wrap it up in foil and freeze it for up to three months. These garlic breads are great gifts for new parents, housewarming gifts, and more. And they go great with sauces and meatballs. Whether you’re reheating a batch of leftover garlic bread or preparing a large meal, a loaf of garlic bread will be sure to impress!